Photography Gear Basics
Are you looking to get started in photography? I want to explain my journey through photography when I just started out in my hobby to take photos, all the way through college, and freelancing for a few businesses to get myself started.
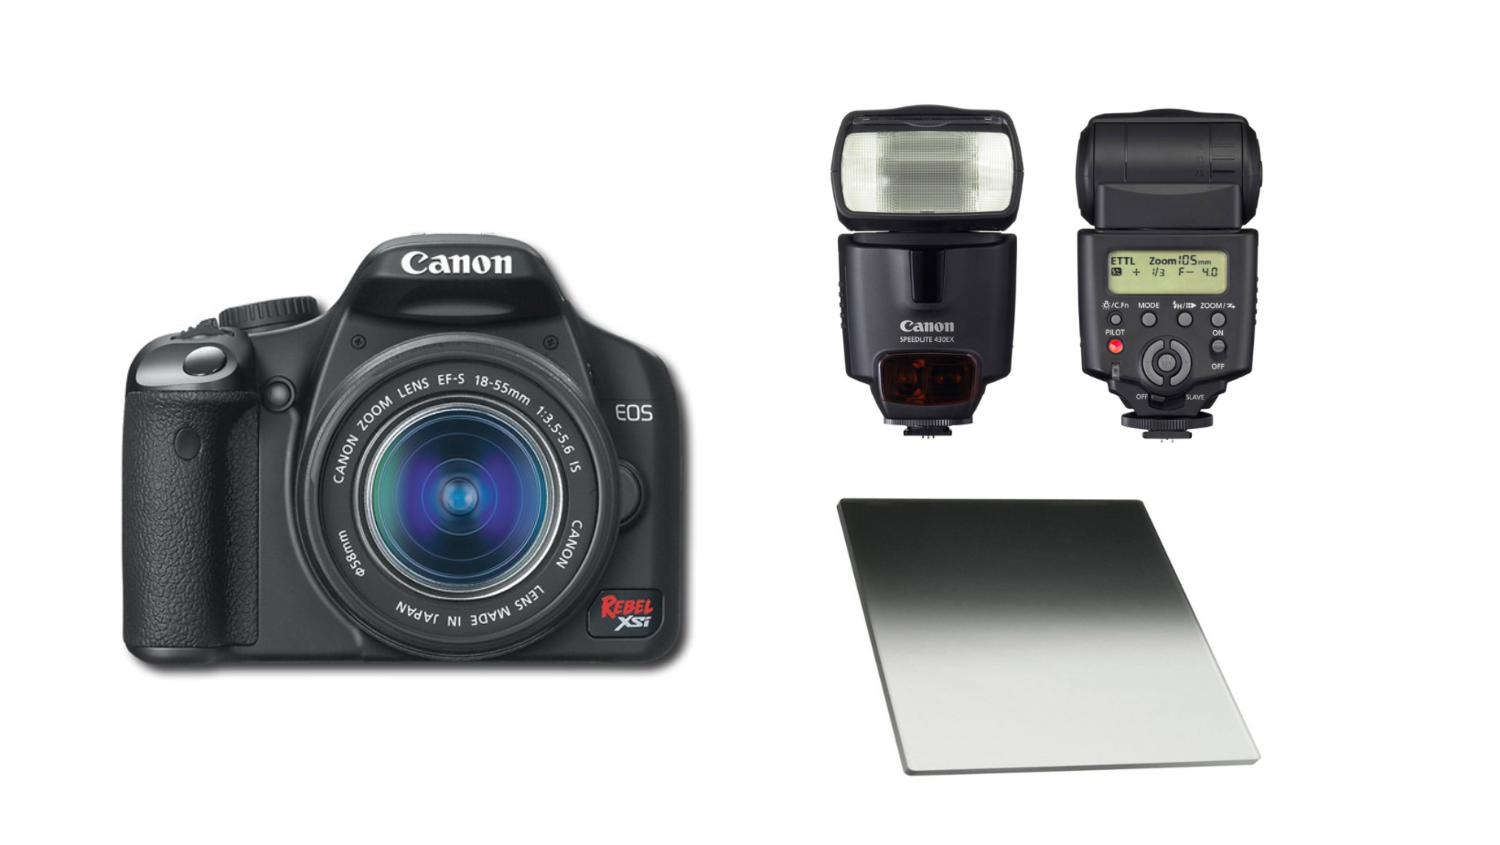
First, the big question I always would get is “Nikon, or Canon?”. My primary brand gear I chose is Canon. This initially wasn’t a calculated decision but rather, I had money saved up when I was 16 and the Rebel XSI was within my budget.
At the time, I was only shooting outdoor and nature scenes that forced me to work with the daylight, working with what I had. For those reasons, and with the standard kit lenses it came with, the Rebel XSI was a reliable and versatile camera for a hobbyist wanting to start out. My editing process was minimal on Photoshop since I only later learned how to use Lightroom once I was in college.
Going into college however, I quickly learned that controlling your lighting scenario is ideal for any type of photography outside of landscape and nature scenery. That’s where a studio setup like the one you see on the right, was great experience to learn how to control all lighting sources. From this, using the portable flash like the Speedlite 430 series is critical to any portraiture, still life, or even architecture photography for lighting your subject matter. Any time the subject is about 4 to 6 feet in front of your lens, is a good time to use a flash to help illuminate your subject. The 430 EXII was specifically the first on-camera mount flash that I used. You can purchase it here at KEH for a lower price than retail. It is smart to purchase flashes that are refurbished or used but still functioning.
Especially for social media content, I can speak personally to how a flash can help bring visual direction and life to imagery within the feed that will help make your content stand out amongst the rest. This article by Nova Creative does a fantastic job at showing visual differences in techniques that can mamucl media look much better in quality.
Last, if you’re a landscape photographer one piece of equipment can be your absolute best friend at getting just the right exposure and it is often under-used or rarely talked about. It is the hand-dipped Lee gradient filter and holder. A neutral density filter darkens areas of the photo you are capturing at the end of the lens. This allows for a better exposure capture for the sky vs the land in settings like sunrise or sunset, or against landscapes that are contrasting with shadows. You can find the Lee filters on their website. To the right is a visual example (coutesy of Lee Filter and photographer Mark Bauer) of what a gradient filter can do. As you can see, the top left sky has much more detail and color since the exposure from the camera was able to capture a more even amount of data across the entire image.
Overall, a flash and a gradient filter as a nature and landscape photographer can be essential tools in your kit to creating beautiful social media images for your brand online.


